I hope everyone had a fabulous Thanksgiving, I know I did! We hosted the day at our house, same as the last 2 years. My turkey turned out perfect, I'm happy to say. I only make it once a year, so I tend to forget what I did the year previous. I need to stop reinventing the wheel and just write it down or something. In addition to the turkey, I made stuffing (of course!), deviled eggs, spinach Parmesan dip, cranberry sauce, croissants with pumpkin butter, and rice pudding. With the dishes that everyone else brought, we had quite a spread. I didn't get very many pictures since I was so busy hostessing and running after the girls. The stamps that I made last week made a cameo at the table:
I think they turned out really nice! We also made the traditional turkey handprint and I tried to make a cornucopia out of D's foot. I think it would have looked more like a cornucopia if I had painted her toes different colors. Still cute, though!
Hopefully in the next week or two, I'll have time to feature the sweater dress tutorial I found. I hope everyone made it through Black Friday alive! We hermited in the house and didn't go anywhere. Perfect day for me ;)
Showing posts with label stamps. Show all posts
Friday, November 25, 2011
Wednesday, November 16, 2011
Craft: Home Made Stamps!
So this is my first attempt at a tutorial-type post. I'm making Thanksgiving place cards with the kids (probably just N) later this week and I didn't have any fall themed stamps. I had a mini-epiphany on how to make my own (it's so easy that I'm sure there's an identical tutorial out there somewhere) with stuff I already had.
You Will Need:
Puffy Paint or Glue Gun
Adhesive Backed Foam Sheets
Flat Glass, Mirror or Ceramic Surface
Washable Marker
Scissors
I'm terrible at writing backwards, so I used the back of a plate to lay out my text.
Press the foam sheet to the marker before it has a chance to dry.
Ta-daa!
I did one word at a time so that it didn't dry.
These words were a little small for the puffy paint, but I wanted them to leave room for N's decorations on the place cards.
These will take about 24 hours to dry, so plan ahead!
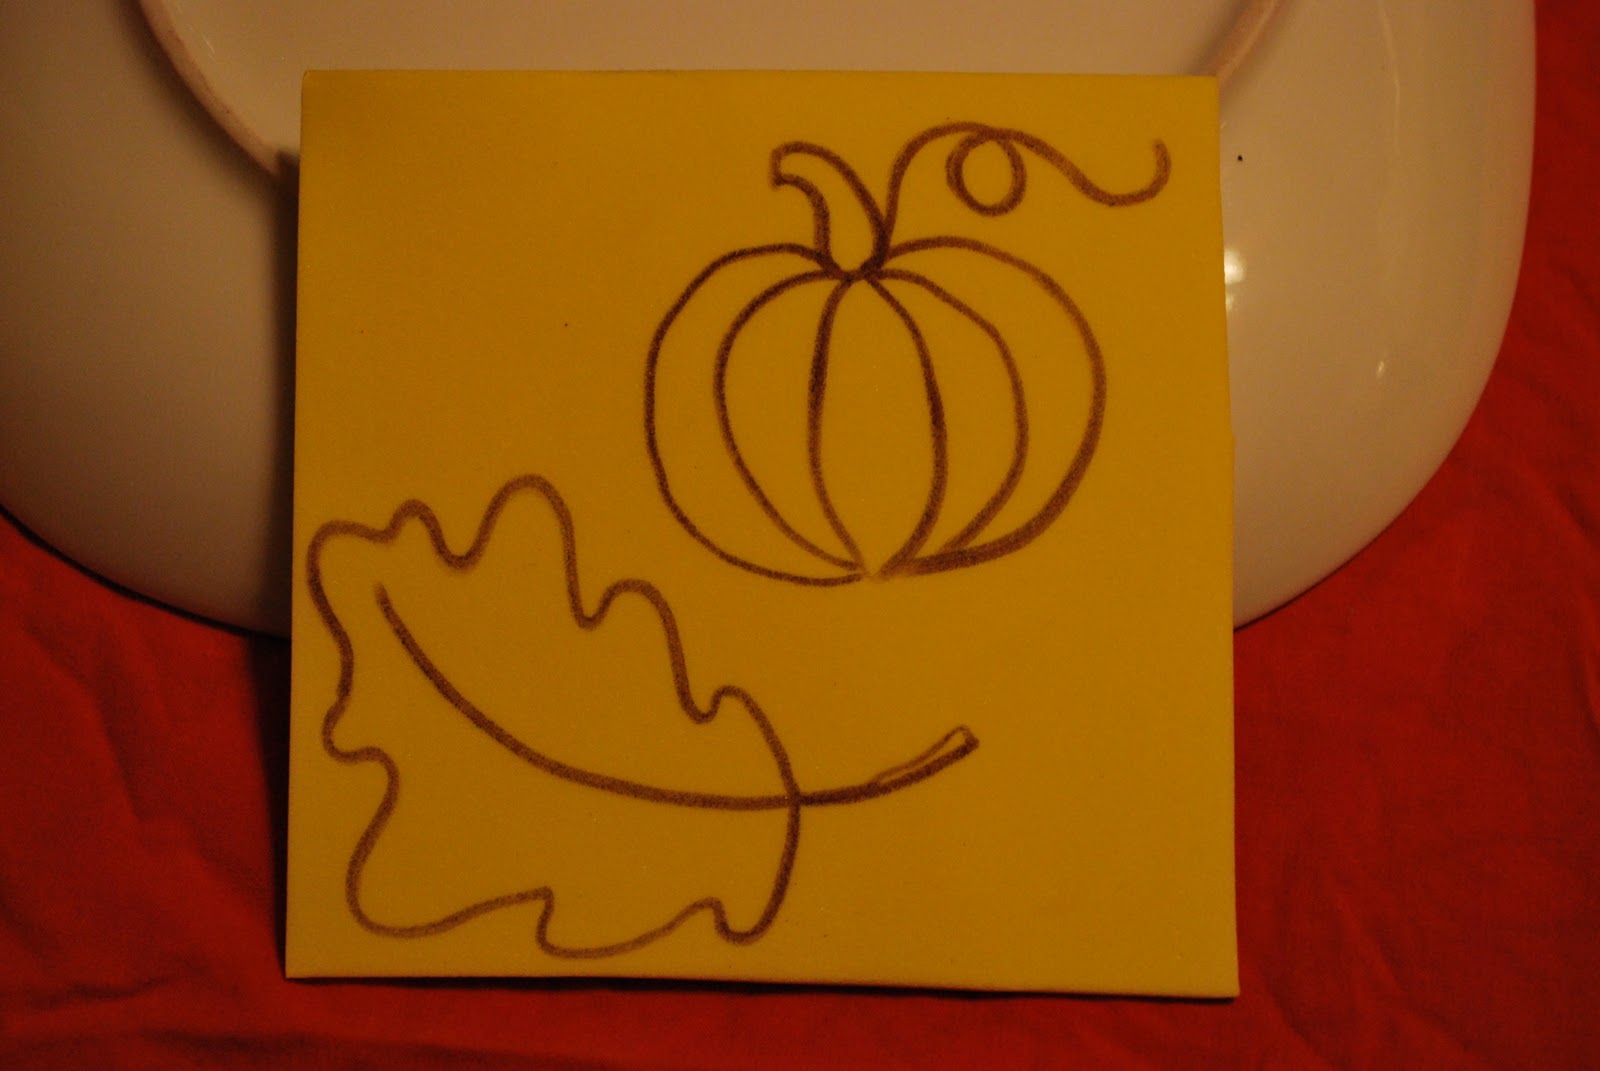
For the decoration stamps, I just freehanded some fall-themed pictures directly onto the foam.
If you need a stamp RIGHT AWAY you can also use a glue gun. It's not as smooth as the puffy paint and the lines are thicker, but it dries in just a few minutes.
Pilgrim hat!
Here they all are :)
After they dry, I'll trim them a little closer and adhere them to... something. Maybe I'll get A to cut me wooden blocks. Those small cardboard disposable jewelry boxes would also work well. We'll be using sponges to apply poster paint to the stamps in a few days. I'll update with the finished product in a few days!
You Will Need:
Puffy Paint or Glue Gun
Adhesive Backed Foam Sheets
Flat Glass, Mirror or Ceramic Surface
Washable Marker
Scissors
I'm terrible at writing backwards, so I used the back of a plate to lay out my text.
Press the foam sheet to the marker before it has a chance to dry.
Ta-daa!
I did one word at a time so that it didn't dry.
These words were a little small for the puffy paint, but I wanted them to leave room for N's decorations on the place cards.
These will take about 24 hours to dry, so plan ahead!
For the decoration stamps, I just freehanded some fall-themed pictures directly onto the foam.
If you need a stamp RIGHT AWAY you can also use a glue gun. It's not as smooth as the puffy paint and the lines are thicker, but it dries in just a few minutes.
Pilgrim hat!
Here they all are :)
After they dry, I'll trim them a little closer and adhere them to... something. Maybe I'll get A to cut me wooden blocks. Those small cardboard disposable jewelry boxes would also work well. We'll be using sponges to apply poster paint to the stamps in a few days. I'll update with the finished product in a few days!
Subscribe to:
Posts (Atom)