Pages

Showing posts with label tutorial. Show all posts

Thursday, March 15, 2012

They're Classics for a Reason...

...Those simple little crafts that everyone knows about and does at least once in their lifetime. Today N, D & I went for a walk at the park. While we were "hiking" I asked N to pick up nice looking pine cones for me. While D was napping, we made Pine Cone Birdfeeders!

Here's what you need! For nut-free, you can use soy nut butter or maybe honey.

Spread it on with the knife. In a few minutes, you can give up and use your fingers.

Spread out the seeds. I used a birdbath to hold them in, and then just set the extra seeds out in it when we were finished.

Roll 'em around!


Tie on a string to hang them from.

Hang from some tree branches, and employ the 4 year old to take your picture so you have every step photographed.

Ta-daa!

We've really been enjoying the unseasonably warm weather here. N has been spending just about every waking hour outside. When we can get out and run off the sillies, everyone is so much happier!

Friday, January 6, 2012

Little Girl's Sweater Dress Tutorial

A few months ago, I ran across a tutorial for a toddler's sweater dress here, at Smashed Peas and Carrots. This chick has a fabulous blog with lots of fun DIYs for the kids! When I decided to make a few for N, I discovered that I could simplify it by several steps and make a larger dress for a pre-schooler. It would also work as a tunic size for older kids.


I started with a goofy short sleeved sweater that I would never wear and found a dress that fit N well.


 Trim sweater on the sides, leaving 1/2" seam allowance.


Trim down arms to a little girl width. I left mine wider, so I didn't measure, but you can lay the dress' sleeves on top to get a measurement for the width and length. Since the sweater I used was short sleeved, I didn't have to worry about length. Make sure you follow the line of the original sleeve, rather than cut it off square.


Choose a stretchy stitch on your sewing machine. I have a Husqvarna Emerald, and it has a "stretchy" setting, so I used that. A simple zig zag stitch would work just fine, though.


Fold the sleeves so that they're inside out and pin the seam. When sewing, be sure to leave 1/2" unsewn at the armpit side to attach to the dress!


Turn the body of your sweater inside out and attach your arms. There are two ways to pin the arms on. You can leave them inside out and pin to the dress like Smashed Peas and Carrots did, or you can turn them right side out and lay them inside the dress to sew. I decided to try the latter this time, and I thought it worked out really well. I tried to take a good picture to illustrate what I did. Basically I lined up the edge of the arm with the edge of the dress and pinned from the inside of the arm.


It seemed a little less awkward for me to sew it this way, but either way works just fine. Start at the armpit and sew up, over the shoulder, and then back down to the armpit, rotating the sweater as you go.


Ta-daa! This is the finished arm and unfinished side seam. To sew the side seams, leave the dress inside out, pin the sides secure and just sew from armpit to the bottom hem! I always have a little hole in the armpits where the seams don't meet completely which I hand sew up with just a few stitches.


Here's a shot of the finished dress! I've found that sweaters are very forgiving, so you don't have to be too exact. I'm not a very good sewer, so I leave a wide seam allowance and then I go back to trim it up. Definitely give the original tutorial a look if anything's confusing.


N loved it and wore it to school the next day.


Haha, I can NOT get a serious picture out of this girl!


Nice and stretchy to play in.


OK, all done. Can we go outside?!


Wednesday, November 16, 2011

Craft: Home Made Stamps!

So this is my first attempt at a tutorial-type post. I'm making Thanksgiving place cards with the kids (probably just N) later this week and I didn't have any fall themed stamps. I had a mini-epiphany on how to make my own (it's so easy that I'm sure there's an identical tutorial out there somewhere) with stuff I already had.

You Will Need:

Puffy Paint or Glue Gun
Adhesive Backed Foam Sheets
Flat Glass, Mirror or Ceramic Surface
Washable Marker
Scissors

 I'm terrible at writing backwards, so I used the back of a plate to lay out my text.
 Press the foam sheet to the marker before it has a chance to dry.
 Ta-daa!
 I did one word at a time so that it didn't dry.
 These words were a little small for the puffy paint, but I wanted them to leave room for N's decorations on the place cards.
 These will take about 24 hours to dry, so plan ahead!
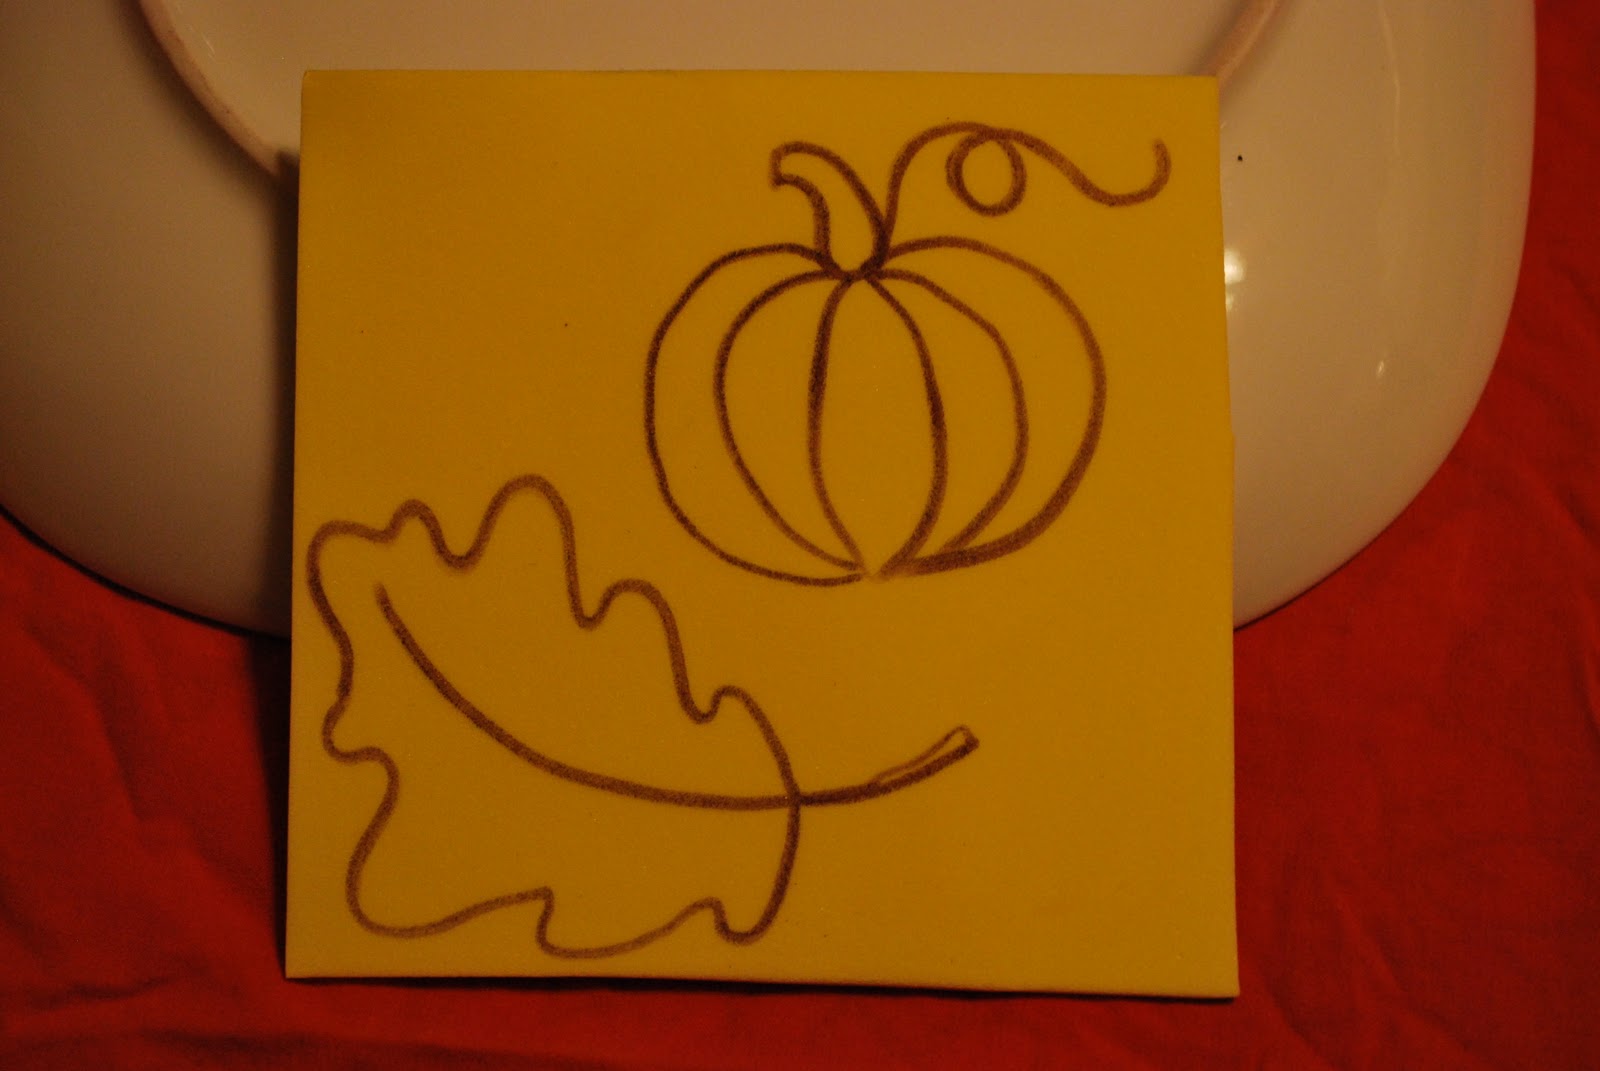
 For the decoration stamps, I just freehanded some fall-themed pictures directly onto the foam.
 If you need a stamp RIGHT AWAY you can also use a glue gun. It's not as smooth as the puffy paint and the lines are thicker, but it dries in just a few minutes.
 Pilgrim hat!
 Here they all are :)

After they dry, I'll trim them a little closer and adhere them to... something. Maybe I'll get A to cut me wooden blocks. Those small cardboard disposable jewelry boxes would also work well. We'll be using sponges to apply poster paint to the stamps in a few days. I'll update with the finished product in a few days!

Wednesday, May 4, 2011

Rainy Day? Craft Away! (Updated)

I'm always looking for something easy, cheap, quick, fun and not too messy to do with N. A tall order! I ran across a neat website called HowDoesShe? that has lots of craft ideas as well as recipes and articles on mommy-type stuff. I've found a few nifty things on there so far. One of the crafts that I ran across was this sidewalk chalk recipe. It looked easy, and N had a birthday party to go to soon and I thought it would make a good gift. I did end up modifying the "recipe" a little to make it less messy and easier to clean up.

You will need:

2/3 cup water
1 to 1 1/4 cups plaster of paris
sandwich sized ziploc baggie
ice cube tray or silicone candy mold tray
scissors
food dye
toddler or pre-schooler


1) Pour water into zip loc baggie and add food dye.
2) Add about half of the plaster of paris and seal baggie with most of the air pressed out.
3) Give to wee one to squish around until the plaster is thorougly mixed in.


4) At this point, the mixture will be very watery. Add more plaster until it is about the consistency of pancake batter. The pink set used a little over 1 cup of plaster and the yellow used about 1 1/4 cups. You can see the difference in how thick the mixture is. Both set up fine.

UPDATE: After popping out the chalk, the thinner mixture turned out much better. The chalk had no bubbles in it and the tops were smoother. I really like the home made chalk better than the cheap store bought chalk becuase it's much denser, so it lasts longer. The store bought chalk looks like it's made from a frothy mixture, so there's lots of air bubbles in it. Nothing wrong with it, but goes quickly. I need to get some more interesting molds, though! Also, the chalk only really works on sidewalks. It doesn't work very well on an indoor blackboard.


5) When you have the mixture at the thickness you want, snip a corner off the baggie and fill your trays.
6) After a few hours (or a nap!) flip ice cube trays upside down and pop out your chalk!


Here's the set I made for Z's 3rd birthday party. I got the boxes and basket at Rite Aid, and N decorated them with princess stickers.

The best thing about my modifications to the original recipe is that there's MINIMAL CLEANUP!! Just toss the baggies, wash the mold and you're done. I also like the small sized batches, this lets N pick lots of colors and squish lots of baggies. Her squishing made me a little nervous, so I'm definitely going to invest in some name brand baggies. The ones I had were from the dollar store and I didn't have a whole lot of faith in them holding up to her enthusiastic participation.

We had lots of fun today, even though it was rainy and chilly out. Now I just need to find something good for next time...